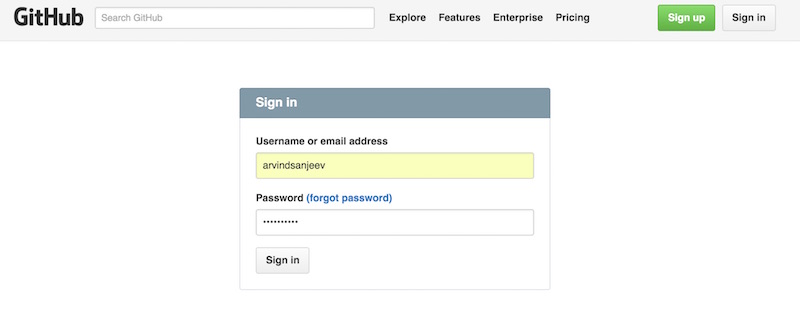
A very easy way to set up a website is using Github. Using this platform we can take advantage of revision control as well as host our website through it. In order to begin making a website, first an account needs to be created with Github: https://github.com.
Then, use this tutorial: https://help.github.com/articles/set-up-git/ to setup git in your PC if you don’t have it. I am then using this tutorial: link as a reference to setup the webpage.
Step 1
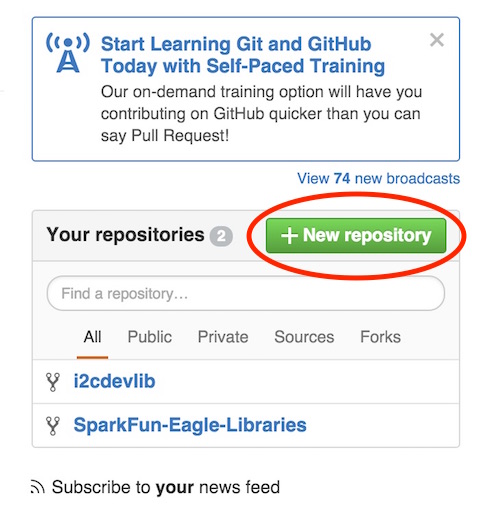
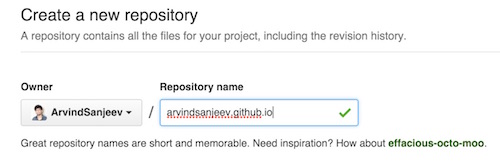
Next, create a repository using your username. For example if your username is “arvindsanjeev”, create a repository called “arvindsanjeev.github.io”.
After that create a new folder in your PC which will hold the new cloned repository.
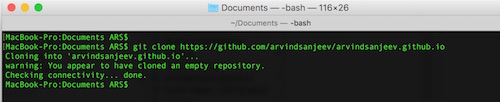
Step 2
Next, open the terminal in your PC and navigate to the newly created folder. Use the command: git clone “repository_link” to clone the new repository. Edit the command to include the link of your repository. A new folder having the name of the repository will be created, example: arvindsanjeev.github.io.

Step 3
Now copy all the html files you have into the cloned folder. Use these commands to push the files for the first time:
git add --all
git commit –m “Initial commit”
git push –u origin master
And then check the new webpage by going to the link: https://“username”.github.io. For example: https://arvindsanjeev.github.io
And then each time the files are edited, use these commands to push the new changes:
git pull
git add .
git commit –m “commit name”
git push
To edit and create a website in html, I am using the tool: Brackets.