This page showcases my learnings from using the Rhino design software.
We were introduced to Rhino by Luciano in order to design 3D and 2D objects. The software is pretty powerful and I particularly like how much freedom it allowed the designer to create really intricate shapes.
Luciano also talked about using a plugin called grasshopper for creating parametric designs which was mainly used by Architects.
I installed the trial version of the software and started exploring. Some of the things I learned:
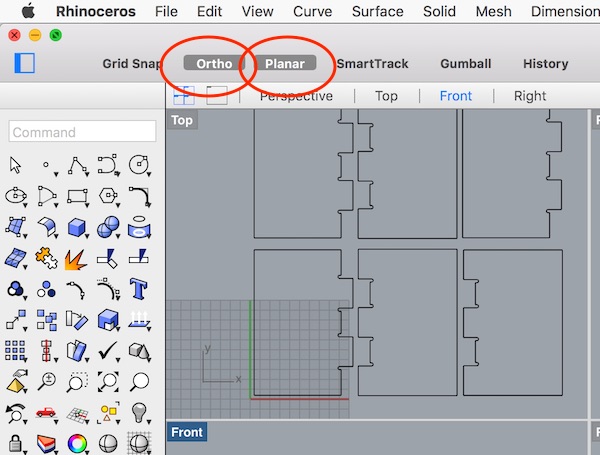
Ortho and planar
Ortho lets you draw only in 90degree angles across all axes and planar lets you draw only in x and y axes.
Selecting
Right clicking and dragging will let you span. And left clicking and dragging towards the right lets you select only a part, whereas left clicking and dragging left, selects the entire object.
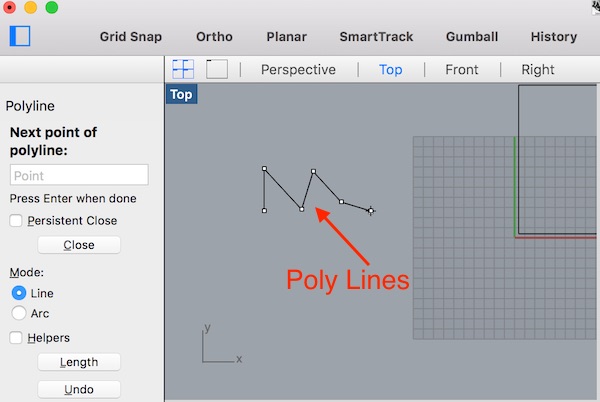
Drawing using polylines
You can draw connected lines using the polylines option and right click to stop drawing. To get more options for drawing left click and hold the shape to view more. Also you can directly type in any command and corresponding action gets activated.
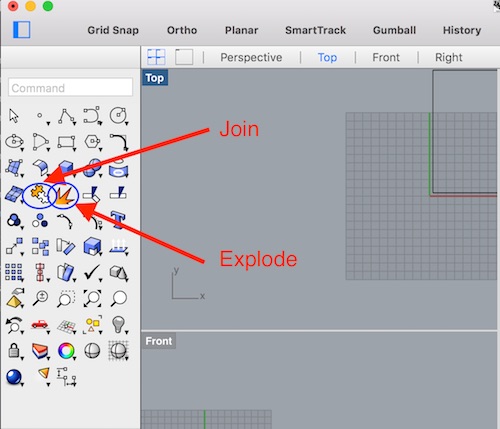
Explode and join
Explode lets you separate a design into several individual parts that you can select and remove. And join lets you join individual shapes together to form a closed shape.
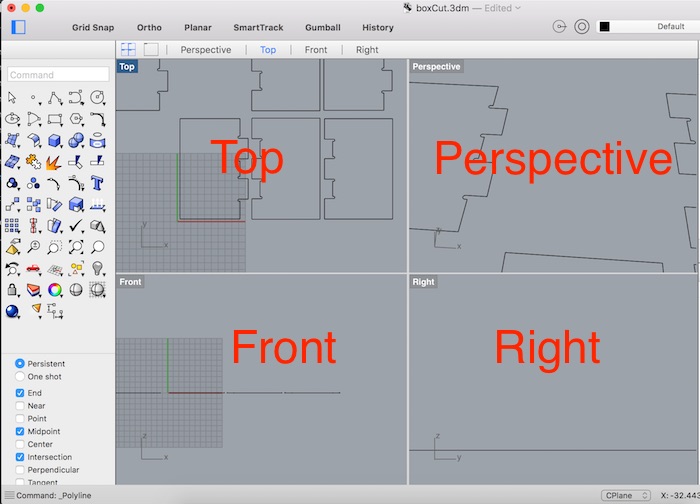
Perspectives
There are different perspectives in Rhino top view, front view, perspective and right view. Double click on any of the window labels and it becomes full screen.
Other functions
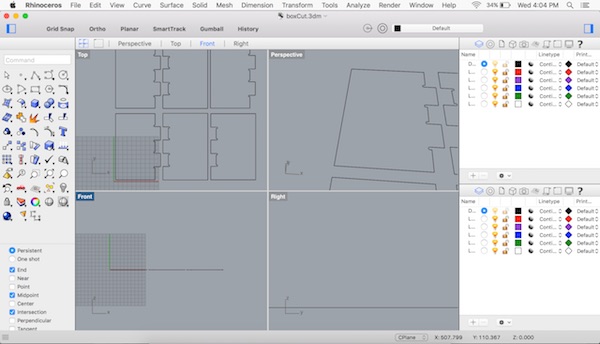
Use center, end, midpoint and other options found on the bottom left of the software to draw with accuracy. The files designed in Rhino are exported as 2D .dxf files mainly for shopbot and the laser cutter. You can do this using the export function.
Move→ to move designs
Rotate→ to rotate designs
Scale→Use first point and reference to scale with x factor.
Trim→ Click and select to remove parts of an object you don’t want.
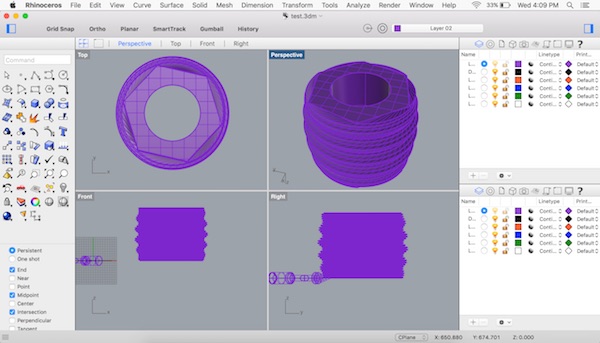
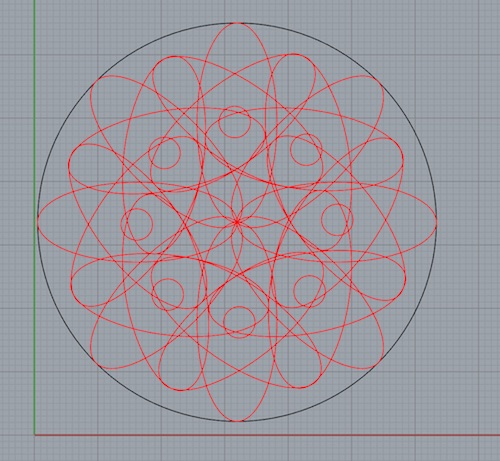
Polar, linear and rectangular arrays→ this is used to create patterns formed by replicating the original shape multiple times in a circular or linear fashion. An example of a design made using polar array
Tips: Use <45 to draw lines at 45 degree angles. Use @200 to draw a line with a length of 200mm.
Boolean union→ this is used to join solids together
Boolean difference→ used to take the difference between solids
Extrude→ used to create a surface by extending it from a 2D object.
Sweep1 rail-> fits a surface through a series of profile curves that define the surface cross-sections and one curve that defines a surface edge
Cap→ to fill holes and to patch surfaces.
A snapshot of the Rhino assignment: