The Abrasive Sand Blaster was the only machine in the Lab which no one had ever used before. This was mainly due to the fact that some of the components of it was not present with it, like a 220V bulb, high pressure hose, etc. After getting those components, with the help of Francisco we set up the Sand Blaster for the first time.
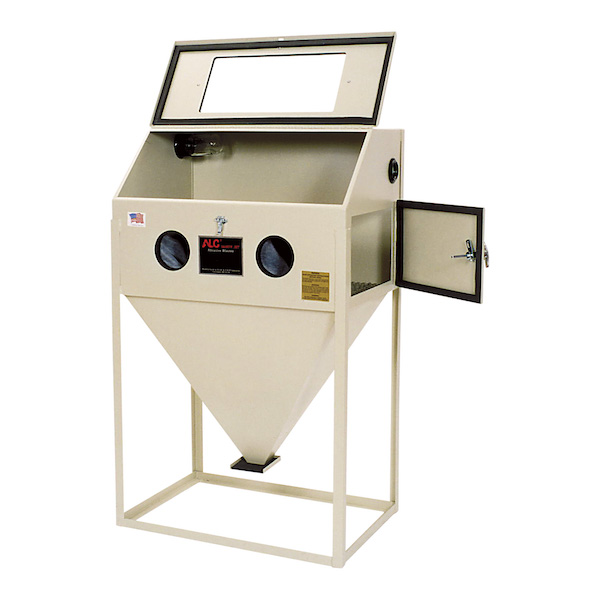
The Sand Blaster is a machine mainly used for finishing parts. It uses compressed air mixed with sand at high pressure to smoothen any surface that comes in the path of the nozzle of the gun.
Important safety precautions: Never open the lid of the machine immediately after performing an operation. The air will still have fine sand particles, which when inhaled will lead to sever health issues.
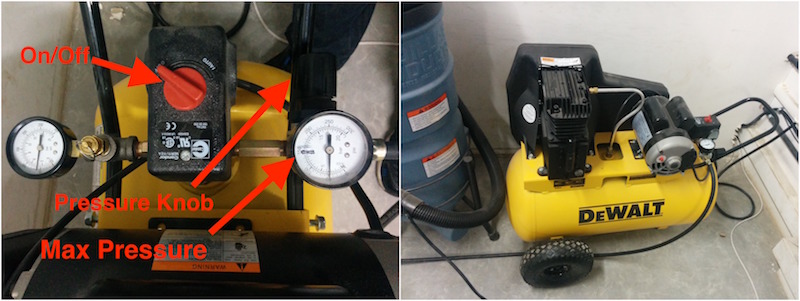
Step 1:Turn on the air compressor. This machine can be used to generate pressures of upto 155psi and can be measured using the meters shown here:
Use the knob shown above to adjust the output airflow. The machine switches off automatically after it reaches the desired pressure, which is around 150psi.
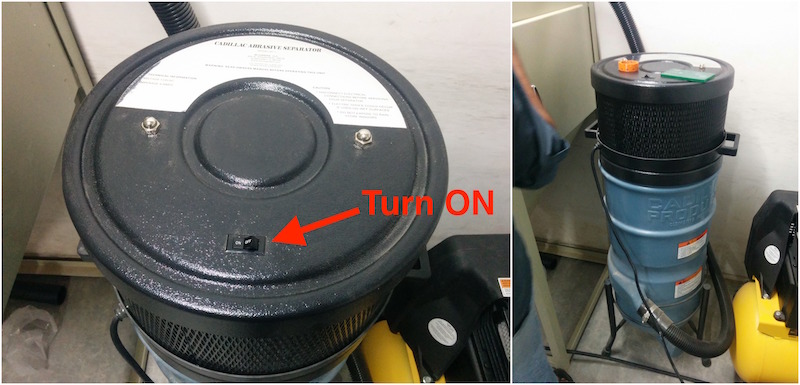
Turn on the Abrasive Separator. This is like a huge vacuum cleaner which sucks up the sand from the air. It stores the sand in a container at the bottom, which when filled can be taken out and dumped back into the machine. Place the parts you wish to finish inside.
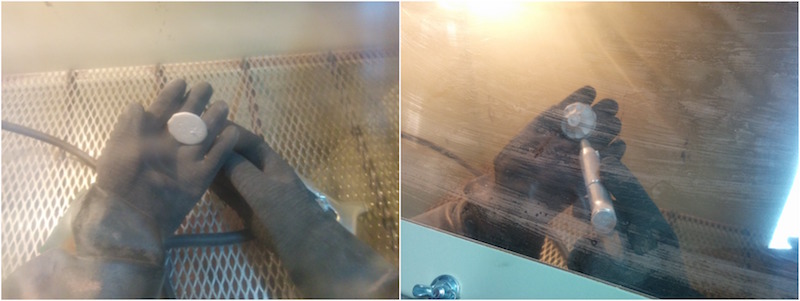
Once the compressor reaches the set pressure, close the lid of the machine and then insert your hands through the rubber gloves to hold the part you wish to smoothen. Press the trigger of the nozzle with one of your hands and grasp the object in the other.
Based on the degree of finish you want, try increasing and decreasing the distance between the nozzle shooting out the compressed air and the object.
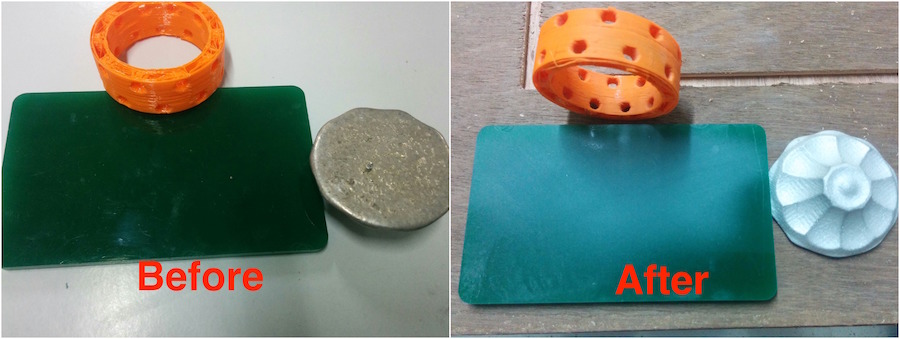
Some of the test parts: