This page takes you through the various steps you need to go through to make a cool vinyl sticker using a Roland CAMM-1 Servo vinyl cutter.
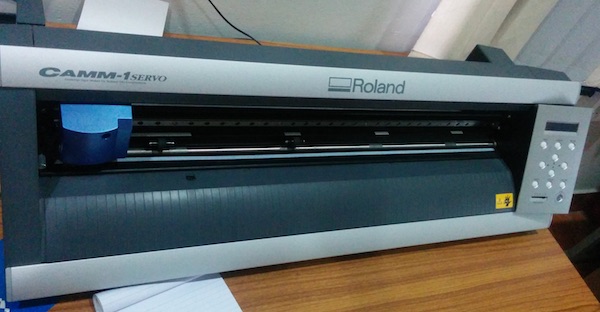
A vinyl cutter has prolific number of applications contrary to the general notion that it can be used just to make stickers. Using this you can make screens for making Tshirts using screen printing, make flexible circuits on copper tape, sign boards and much more including making quirky stickers. In this tutorial I will be showing you how to make a small vinyl sticker using a vinyl cutter. The machine we are using is a Roland CAMM-1 Servo from FabLab Kerala.
What are the things required to do this?
How does it work?
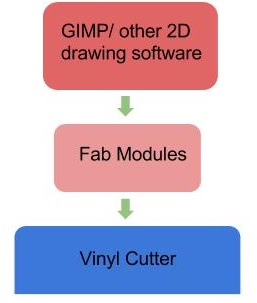
The process flow for making a vinyl sticker is pretty simple. You need to have a dual tone (black/white) .png file. For example this (not actual size):

This file is then launched using the FabModules and fed into the vinyl cutter using the desktop interface. You can find the steps for doing this in detail below.
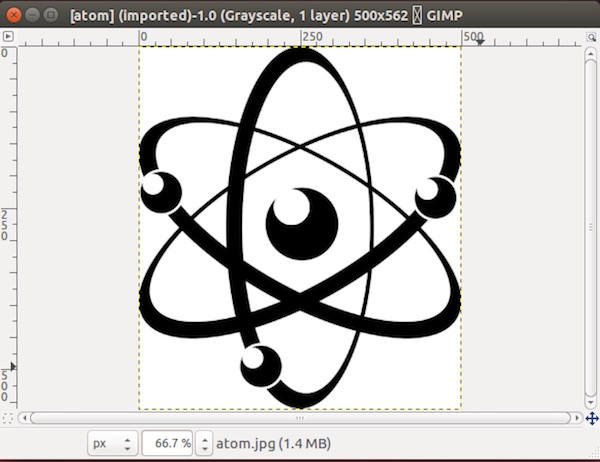
Step 1: Preparing the .png cut file
Here, in order to cut patterns on vinyl using the machine, you need to have the design on a .png file. The file needs to be dual tone having only black and white colors, having a minimum size of 500px. You can use softwares like Gimp, CorelDraw or any other drawing software that lets you export .png files. Here, I am using a drawing I downloaded from the internet and checking the same by opening it using the Gimp software on Linux.
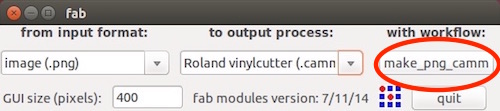
Step 2: Using the Fab Modules
If you are new to Fab Modules, you can start by downloading and installing the software using this tutorial: link.
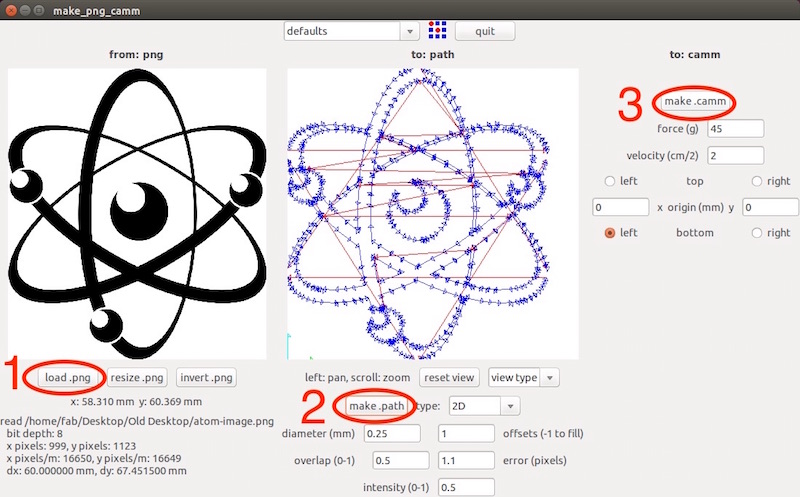
Next you need to start the fab modules by running the command “fab” from the terminal. Select the input format to be .png and the output to be the Roland CAMM1-Servo (.camm) and click on load_png_camm.
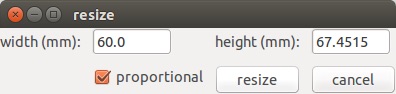
Then click on “load .png” and select “resize” if you wish to change the size of the sticker. I am resizing the sticker to be 6cm wide and 6.7cm tall. Like so:
After that click on “Make .path” to create the .path file and then make the machine file for the cutter by clicking on “Make .camm”.
Step 3: Setting the machine
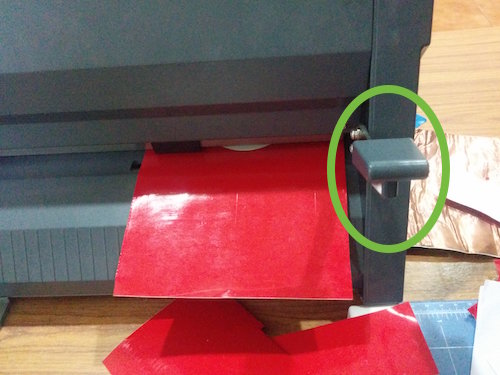
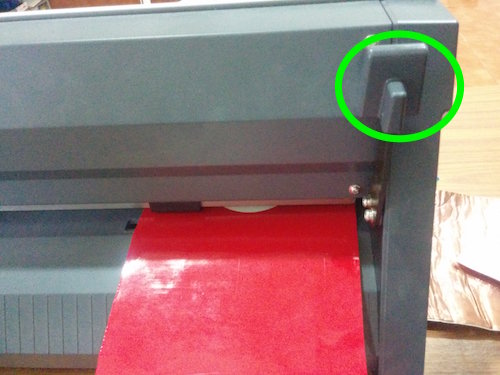
Now we get to the most exciting part, playing with the machine. Here, first we need to load the vinyl roll to the machine. This is done by pressing down the lever on the right and sliding the roll in as in the figure below:
Ensure that the rollers of the machine are over the white portion as in the figure below:
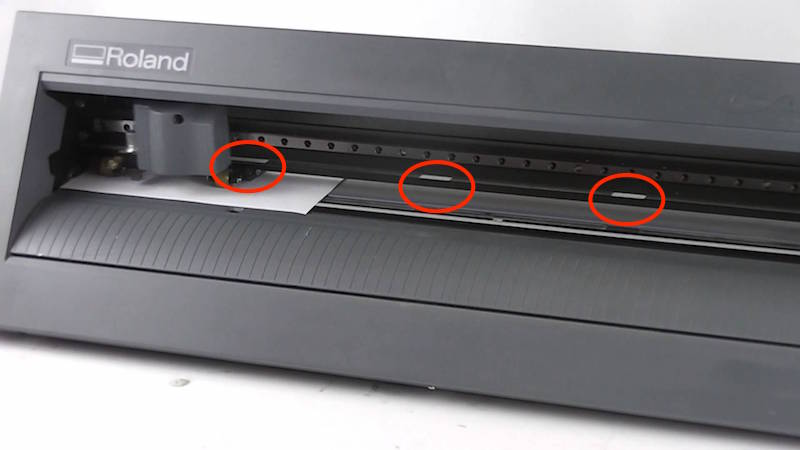
Next, lock the material in the cutter after aligning it properly by pulling the lever on the right up.
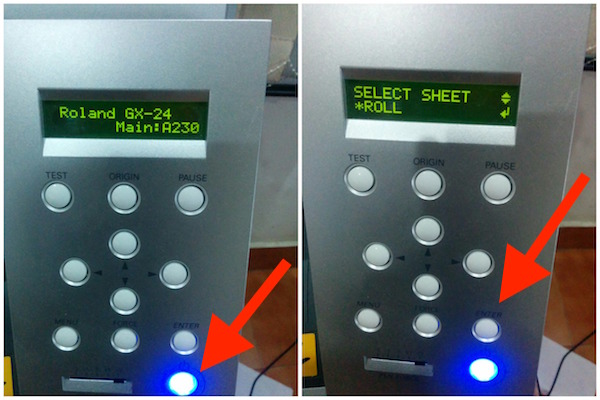
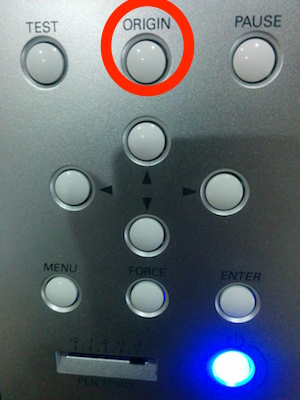
Now press the power ON button, select the “roll” option and press enter. Position the blade or tip using the arrow keys on the machine and place it over the area where you wish to cut the sticker. The origin for the machine is always the bottom left corner. Now press the origin button to home the machine.
And finally click “Send it” to start cutting the vinyl and getting to the final step of getting your beautiful sticker.
Step 4: Holding the baby in your hands
After the machine finishes cutting the sticker, use a scissors to cut out the sticker. Remove the portions of the sticker that is not intended to be in the final cut using tweezers. Next, use the wide masking tape and paste a layer of it over the sticker and press down over it.
Now, peel off the masking tape from the vinyl piece so that you will have the sticker on it. And finally paste the masking tape over the surface where you want the sticker to be and slowly remove the tape, leaving the sticker behind on the surface.

And voila! you have made your first vinyl sticker. Download files: atom.png