3D printer filaments need to be stored in cool and dark places having minimum humidity. The climate in Kochi is particularly hot and humid throughout the year, which may cause deterioration of several materials, especially filaments if they are not properly stored.
Hence, in order to protect and preserve the filaments and to ensure good print quality, we are working on creating a container that can be used to store the filaments and protect it from humid conditions. It will be having a salvaged hair dryer on the top, which can used to restore filaments that have been affected by moisture and a top sliding door in the front. In this project, I am designing the linking assembly between the various plywood sheets that would be making up the box having two shelves.
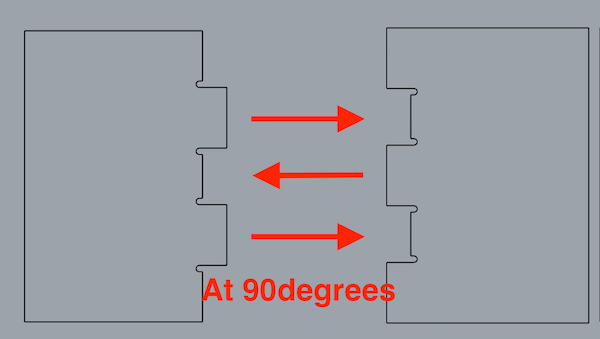
I am using Rhino to create the design and using the ShopBot to fabricate it. The thickness of the plywood sheets I am using is 12mm. And the linkages are designed with two pieces that are to be joined at 90degrees with respect to each other.
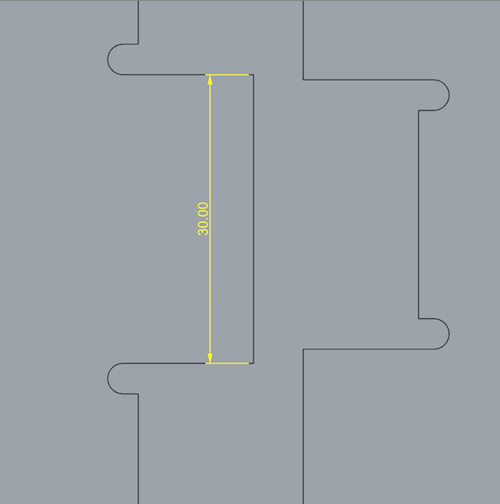
The tabs are designed with 30mm width like so:
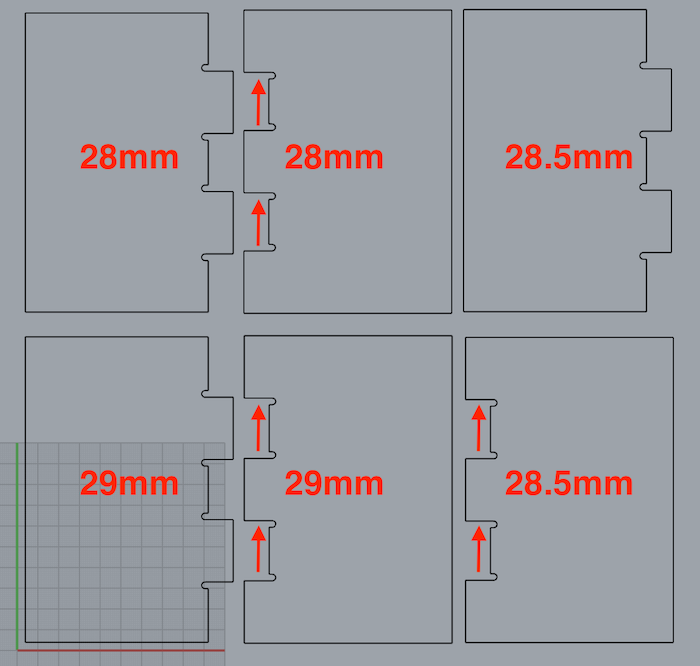
And the slots are tested based on the most snug fit. The links should never be loose and should be fixed with each other using a mallet. Depending on the material, a tolerance of 3-5% should be given while designing slots and tabs. If it is a soft material, the slot width should be less than the tab by more than 5%. Else if it is a hard material, then the width of the slot should be less then the tab by 3% or less. Here I am testing the slots using three values: 28mm, 28.5mm and 29mm for a tab of 30mm width.
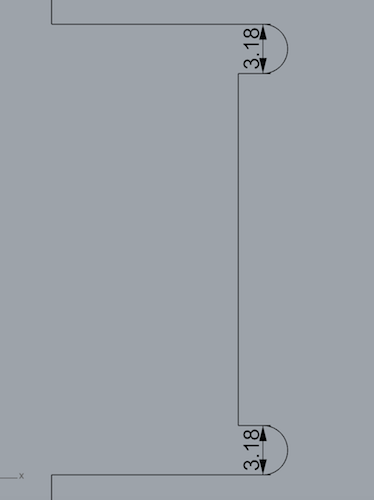
One thing that is important to consider is the diameter of the ShopBot’s end bit while designing the test pieces, which is 3.175mm. Since the machine wouldn’t be able to cut 90degree sharp corners, I am compensating for it by including the diameter of the bit in the corners for the tabs. If this isn’t done, the links of the sheets wouldn’t fit each other perfectly.
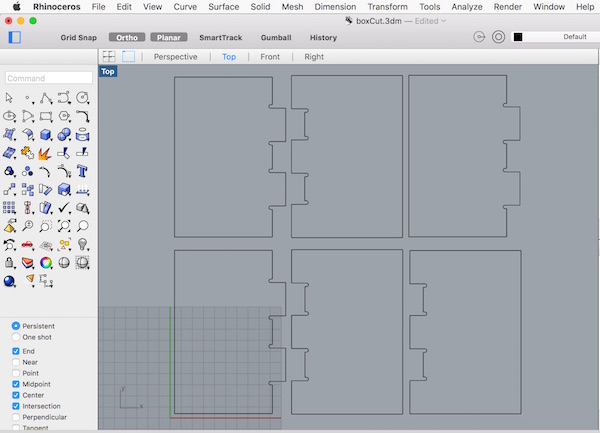
Next, I ensured that all the curves and lines for the designs were closed. I checked this by first “Exploding” the curves and then “Joining” them again, till I see something like this: “25 curves joined into one closed curve”.
Next, I exported the design as a .dxf file after aligning the pieces with respect to each other, keeping in mind the available area on the remaining plywood sheet.
I then cut the design using the ShopBot, the process for doing that is documented here. The output from the shopbot:
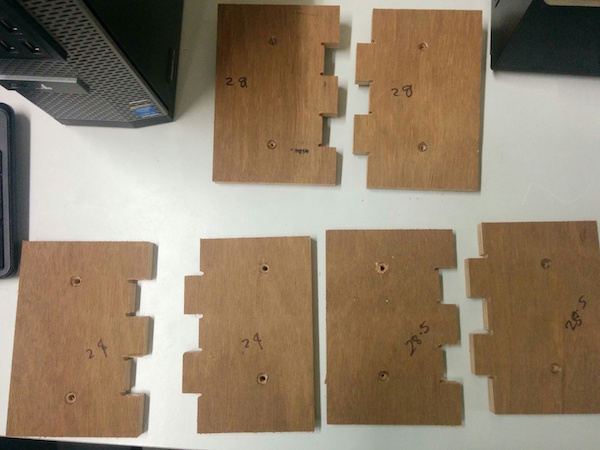
However, I noticed that none of the three pairs of links created were fitting each other. Hence, concluded on using a greater slot width of something like: 29.8mm or 30mm.
Download files: BoxCut.3dm, BoxCut.dxf